Activating Metamask Testnets
How to activate testnets from your Metamask wallet, how to integrate non-existent networks?
There are testnets on the blockchain so you can run your tests outside of the mainnets, and the transactions made on these testnets do not affect the mainnets. By activating these networks in your metamask wallet, you can perform your own tests and switch between networks quickly. So how are these test nets activated?
So, how to activate these test nets? When you click on the metamask plugin that you added earlier through the browser you are using, the name of the network you are on is written at the top of the metamask window that opens. You can switch between networks by clicking here.
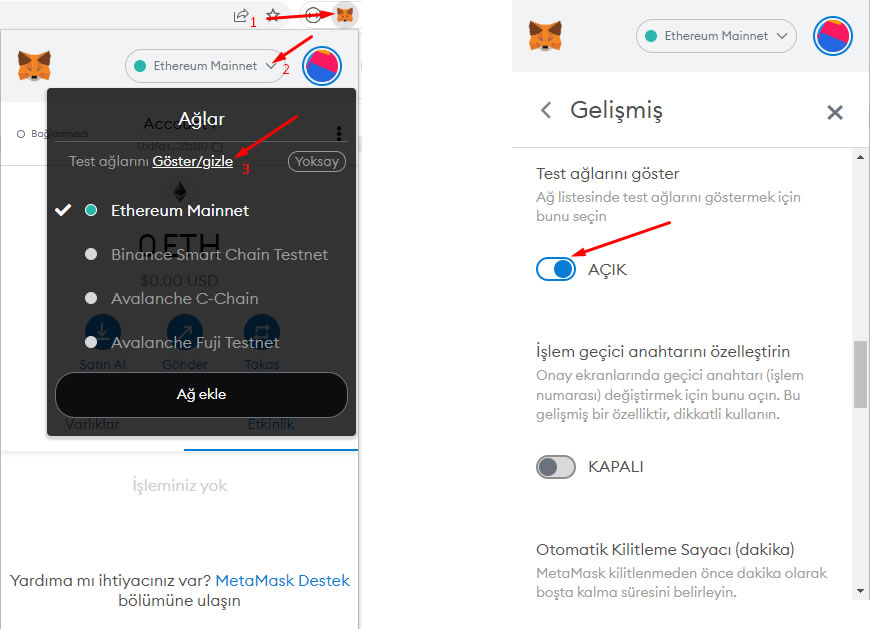
After clicking on the show/hide testnets section from this window, you need to activate the “ Show testnets “ option in the section that opens.
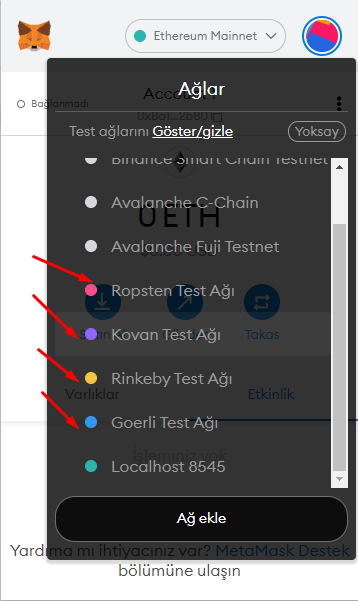
After activating this option, you can now switch between testnets that come by default on the metamask.
So how do we integrate other networks that are not in your metamask wallet? You can do this in a very easy way.
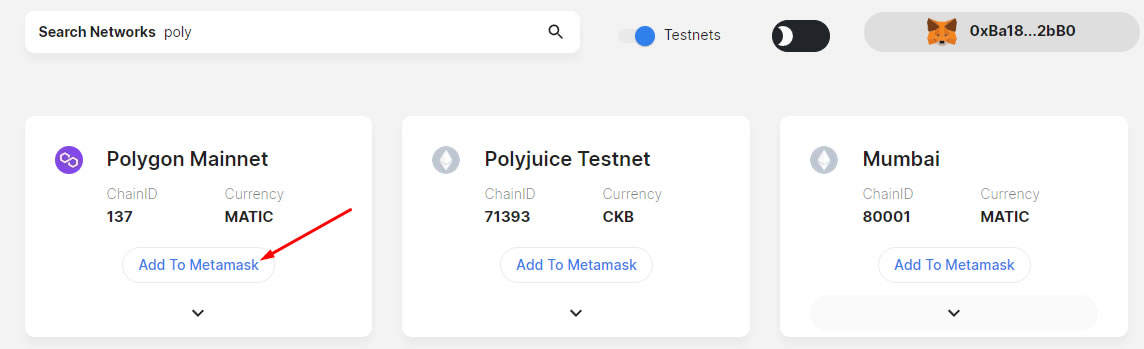
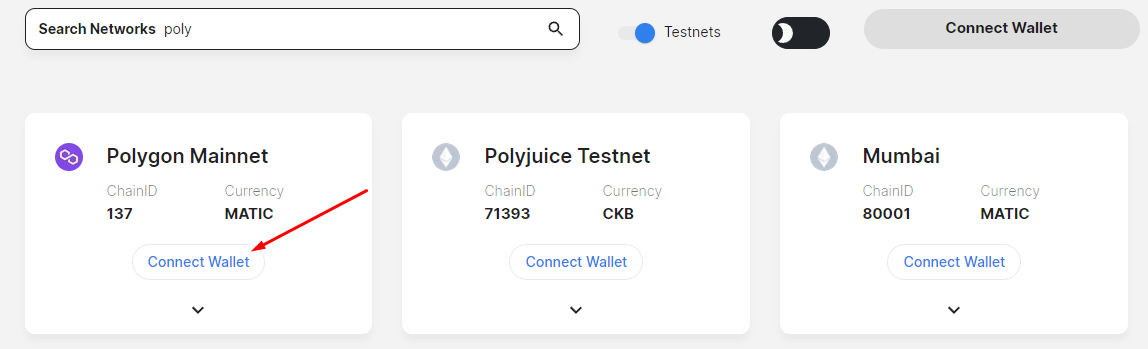
https://chainlist.org/ After logging into the site, you can quickly integrate metamask into your wallet by typing the name of the network you want to add in the search section. In order to do this, you must first activate this website’s permission to access your metamask wallet. For this,we connect our wallet to the site by clicking the “connect wallet” button.
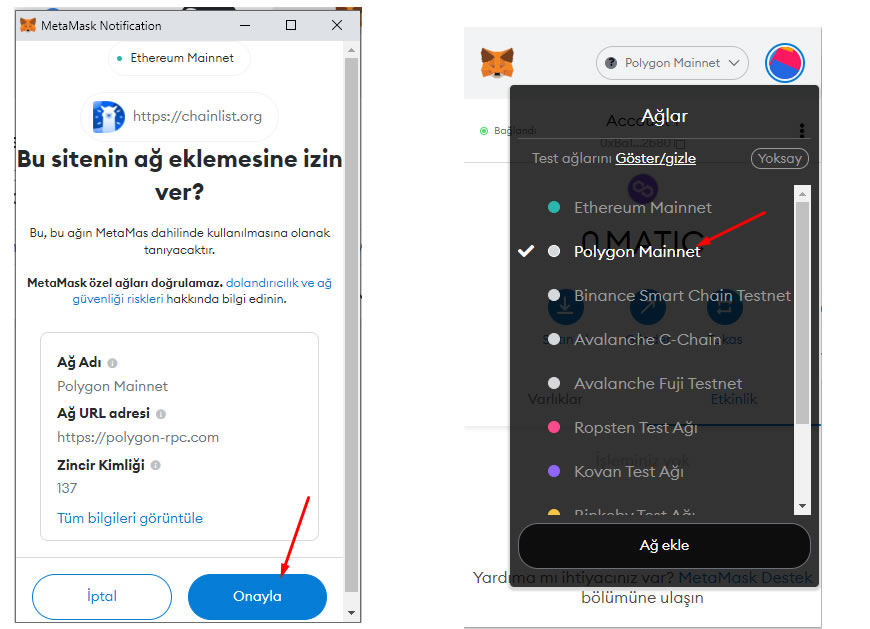
After pressing this button, the metamask wallet opens automatically, showing us what this site can access on your metamask wallet, and asking you for confirmation. After clicking the link button, you now allow this site to operate on your metamask wallet.
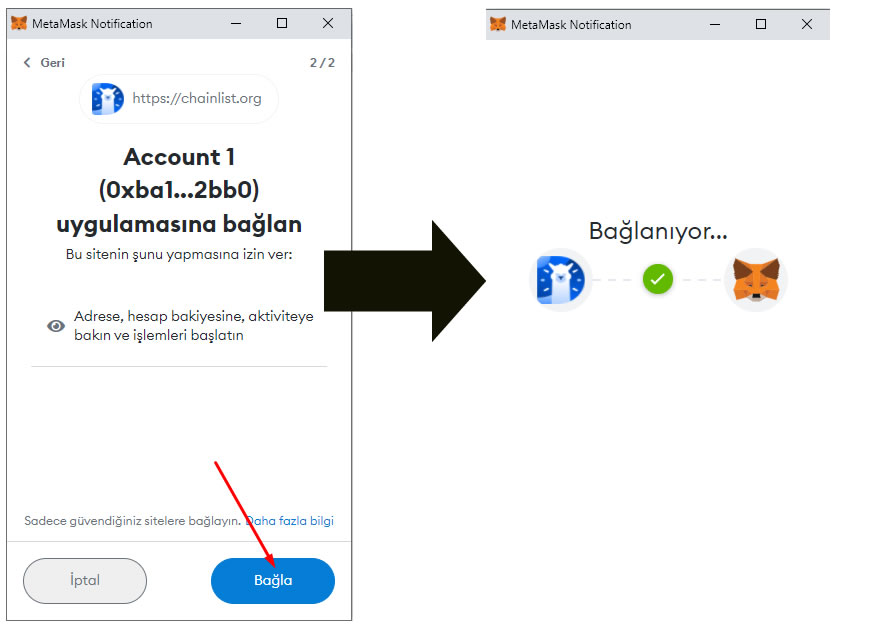
After successfully linking your wallet, you can now integrate the desired network into your metamask wallet.